Inspiring
Creativity
at Every Age

An inclusive art and craft space for all ages, centered on mindfulness, accessibility, and the quiet power of creating with intention.


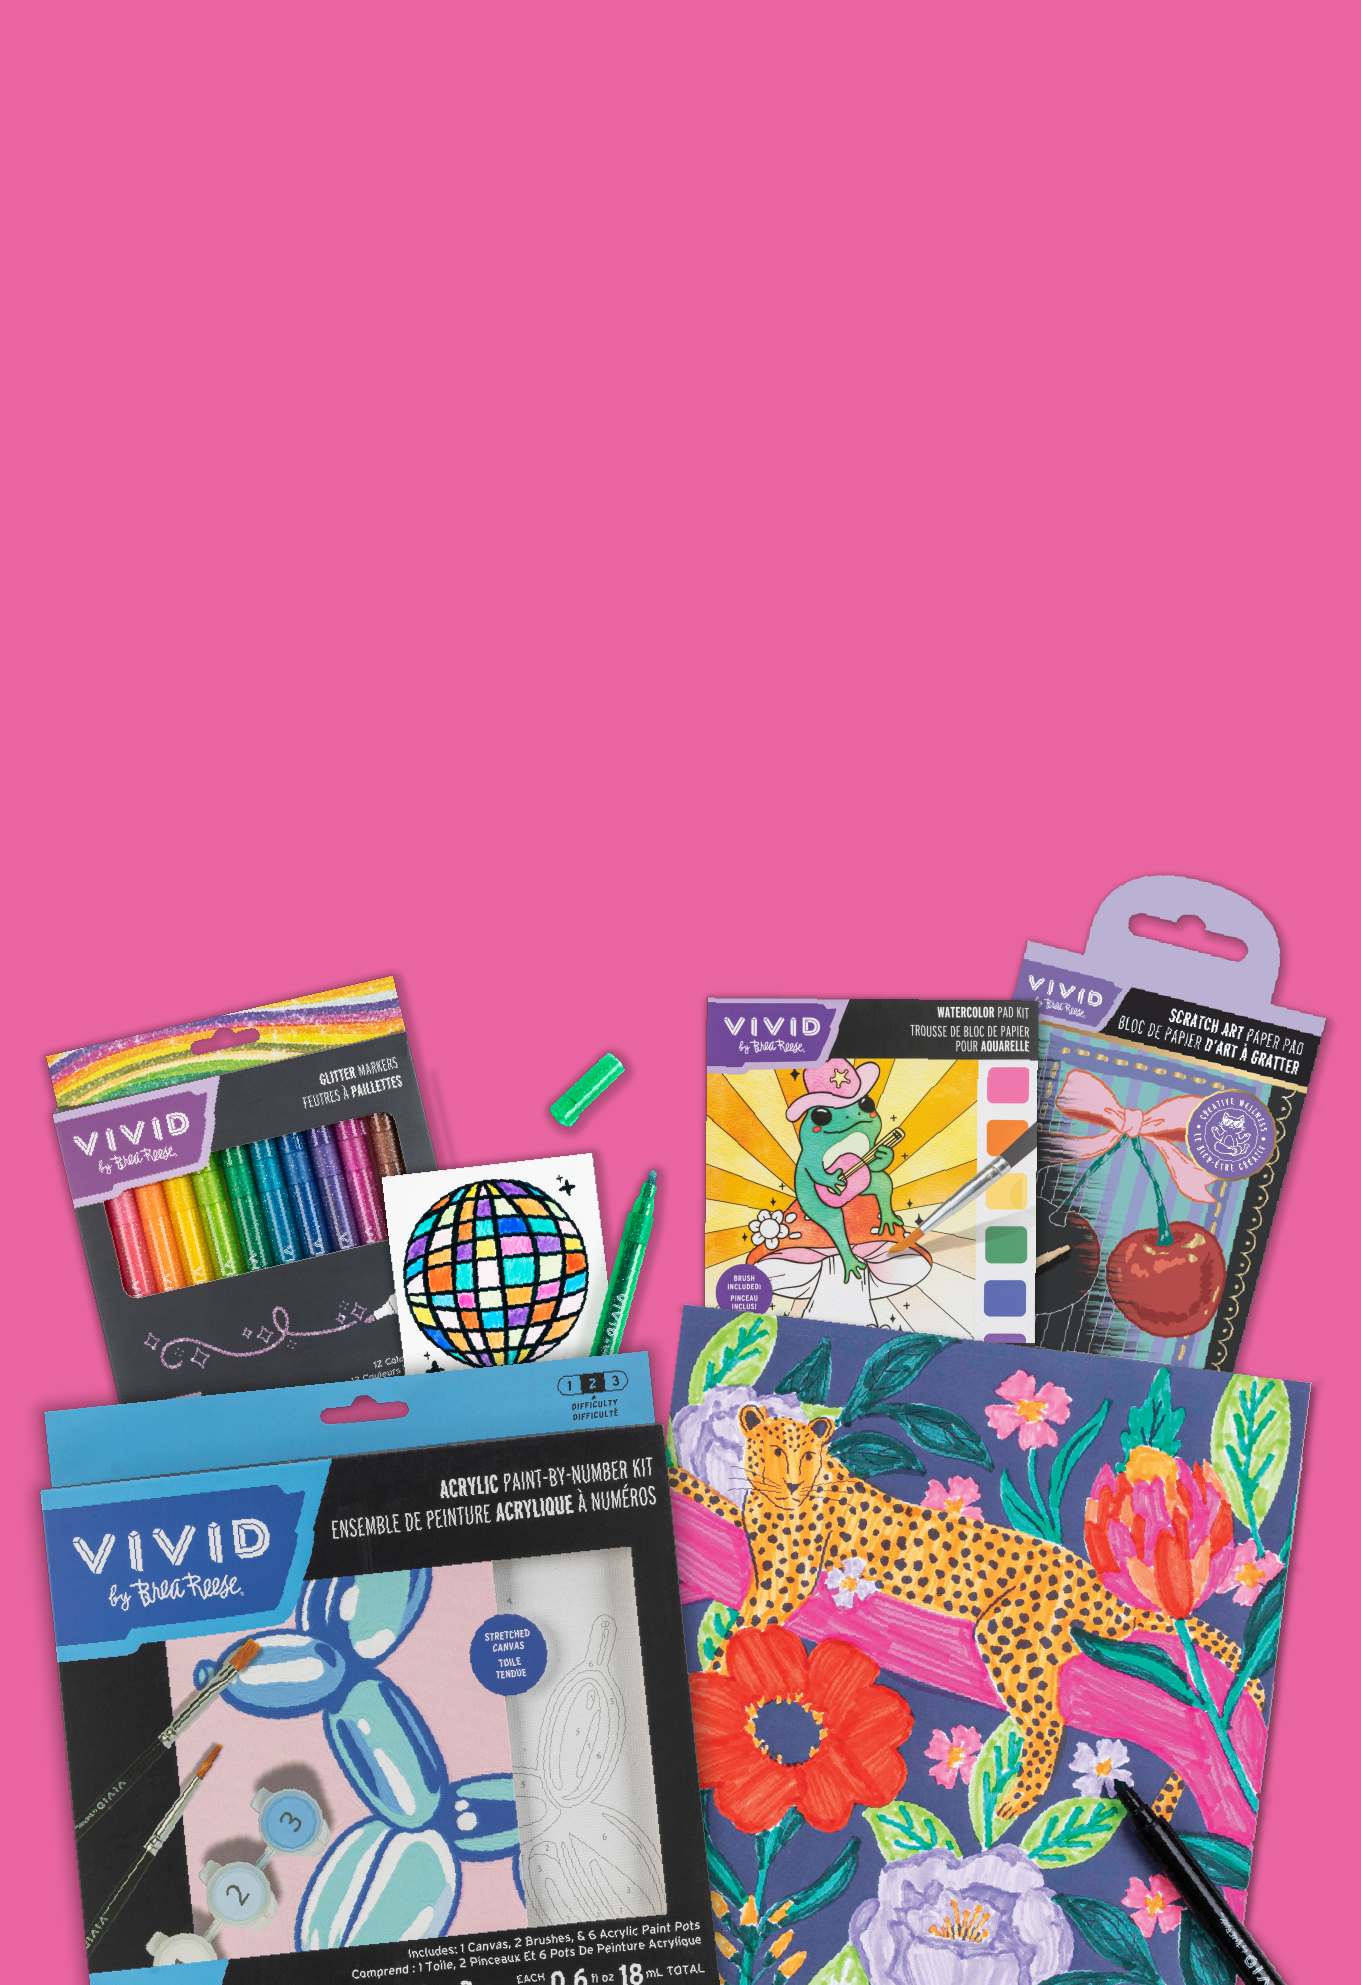
An inclusive art and craft space for all ages, centered on mindfulness, accessibility, and the quiet power of creating with intention.